How to set a Backdrop cms as backend and a Laravel as frontend

I fall in love with Backdrop, a Drupal 7 fork, a few years after Drupal 8 let me down as a single person web shop. Backdrop is a great tool to build up simple, and not so simple, websites. However, when I was in the need of an even simpler website, like a single page site, Backdrop seemed too much for it (due to an excessive template system, at my opinion). In my search for a solution I came up with Laravel and quickly fall in love again.
Once you get use to it, it is easy to create a single page site with Laravel and add any logic/pages as soon as they are needed. However, backends with Laravel are tedious. Of course there are solutions out there, but they are either free and not as good as Backdrop (really great at creating types of content with any types of fields, views, user permissions, etc) or they are not free... and not as good as Backdrop. Thus, I wanted a solution, a way of taking all the advantage of the Backdrop's backend and being able, meanwhile, to build a simple site with backend content created while in full control of the frontend. Then I found the Headless Backdrop module and saw the light.
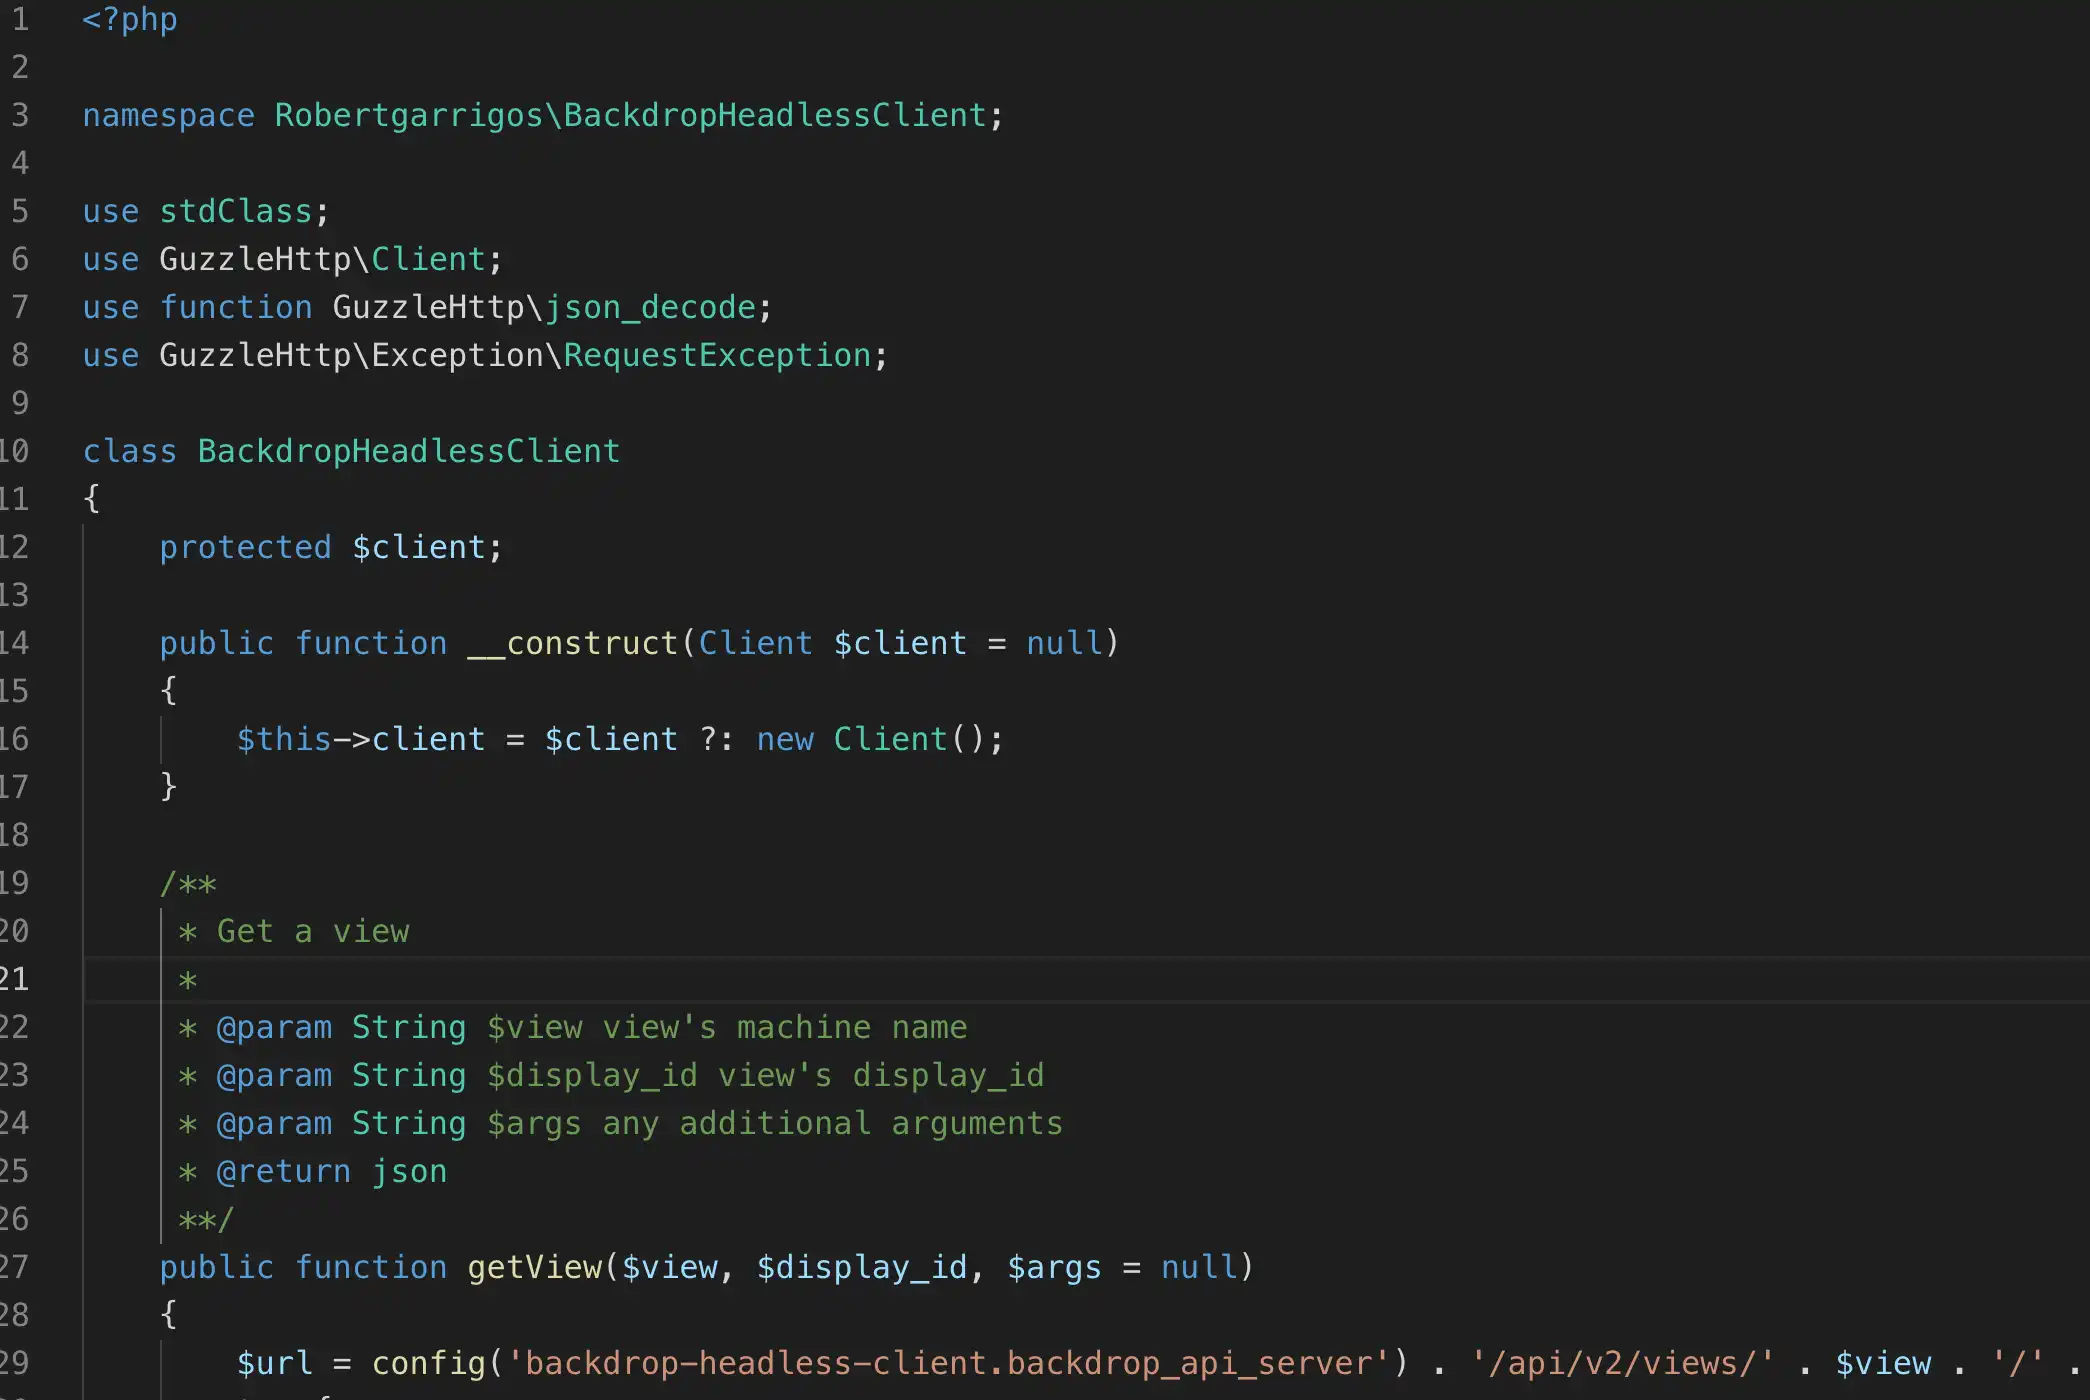
The headless module creates several end points at a Backdrop site from where you can pull data in JSON format. Thus, I just needed a way to pull in the data to a Laravel project. GuzzleHttp seemed the right composer package to do so and, in fact, I test it, and used it, with a project I had at that time. It worked very well. However, there was some code I had to write which could be refactored as a composer package, and that's what I did: I created the Backdrop headless client composer package.
I presented you all the ingredients to get this recipe done, so let's cook it.
Backdrop backend
The easiest way to install a local Backdrop to test this recipe (or any other "recipe", really) is with Lando. Lando works on top of docker and makes creating local environments just a breeze. Follow these instructions to install a Backdrop site with lando, which basically means to install lando (which already comes with docker), download Backdrop, run lando init at command line inside the Backdrop directory, answer a few questions lando will pose you and, finally, run lando start. You will be presented with a local url for your newly created Backdrop instance. Click that url and follow the instructions to finish installing Backdrop. Lando will set up the database for you (isn't that nice?).
Afegeix un comentari